
Overview
Zendesk - Support Tickets Sync Application helps Kylas users to sync and manage their Zendesk tickets from within Kylas CRM.
Install Zendesk - Support tickets sync application
- Click ‘Install App’ button on the Kylas Marketplace app Details page
- Give the necessary permission required for the application and hit ‘Allow and Install’
- After the app is installed, sign up on the application with your Email account.
- Verify the Email by clicking on the verification link received in Email
- After verification navigate to Kylas Marketplace → Installed apps → Zendesk - Support tickets sync
Connect Zendesk Account
- Sign in into application and enter your Kylas app API key in API key field and click on save
- Go to Connected accounts and click on “Add Account”
- Enter your account name and your zendesk domain name
- Click on save and connect.
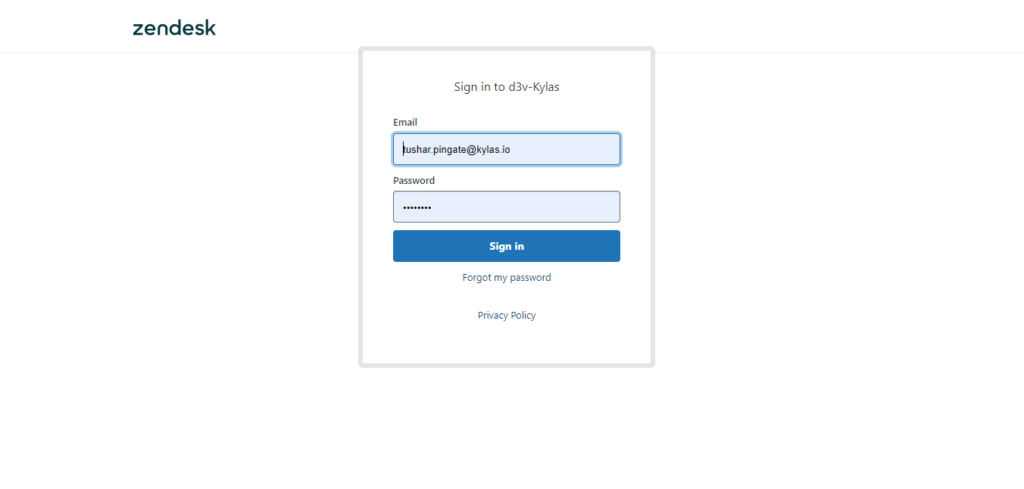
- Enter your Zendesk Credentials and sign in in to your zendesk.
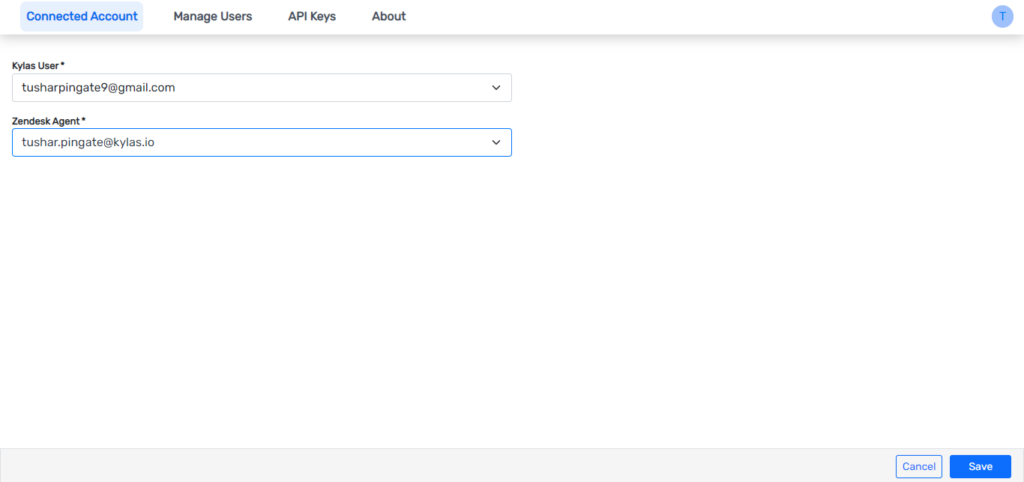
- Go to View agents from connected account page
- Click on “Add Agent” and map Zendesk agent with Kylas agents and click on ‘Save’
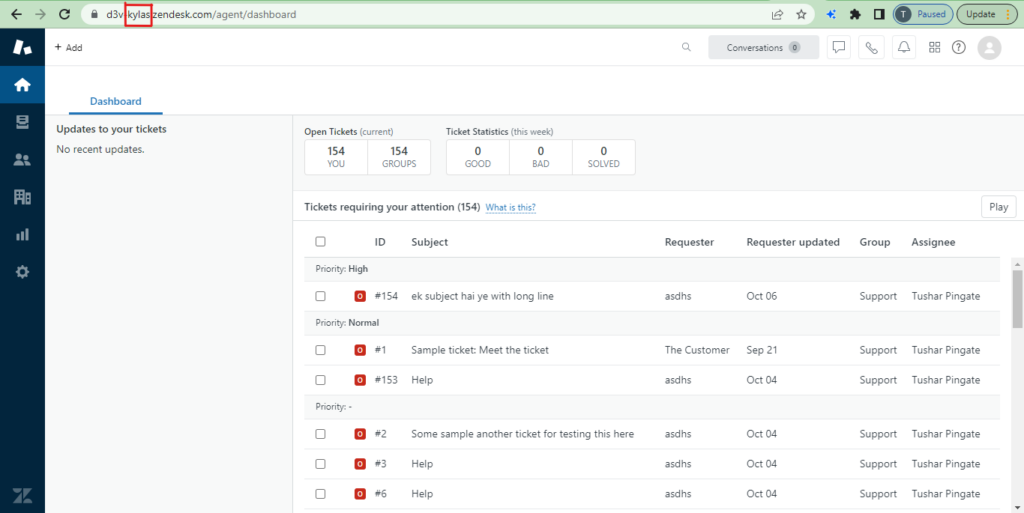
- Once all your agents have been mapped, the app is ready to use. Go to any existing entity available on Kylas eg. Lead, Contact, Deal and click on Zendesk to see all the related tickets on entity details page.